If you’re a fan of decadent desserts with minimal fuss, then these Cherry Cheesecake Jars are the perfect treat for you! They combine a creamy, smooth cheesecake filling with a tangy cherry topping, all served in individual jars for a fun and portable dessert option. Perfect for gatherings, picnics, or simply indulging yourself, these no-bake cheesecakes are quick and easy to make, and they look beautiful too!
Ingredients:
For the Crust:
- 1 ½ cups graham cracker crumbs (about 10-12 graham crackers, crushed)
- 3 tablespoons unsalted butter, melted
- 2 tablespoons sugar (optional)
For the Cheesecake Filling:
- 8 oz cream cheese, softened
- 1 cup heavy whipping cream
- ½ cup powdered sugar
- 1 teaspoon vanilla extract
- 1 tablespoon lemon juice (optional, for extra tang)
For the Cherry Topping:
- 1 ½ cups fresh or frozen cherries (or use cherry pie filling)
- 2 tablespoons sugar (adjust based on sweetness of cherries)
- 1 tablespoon cornstarch (if using fresh or frozen cherries)
- ½ teaspoon lemon juice (optional)
Instructions:
1. Prepare the Crust:
- In a medium bowl, combine the graham cracker crumbs, melted butter, and sugar. Mix until the crumbs are evenly coated and the mixture resembles wet sand.
- Divide the crust mixture evenly into the bottom of your jars or small glasses (about 4-6 jars, depending on size). Use the back of a spoon to press it down firmly and evenly.
- Place the jars in the fridge while you prepare the cheesecake filling.
2. Make the Cheesecake Filling:
- In a large mixing bowl, beat the softened cream cheese with an electric mixer until smooth and creamy.
- Add the powdered sugar, vanilla extract, and lemon juice (if using). Continue to beat until fully combined and smooth.
- In a separate bowl, whip the heavy cream until stiff peaks form. This will give the cheesecake its fluffy texture.
- Gently fold the whipped cream into the cream cheese mixture until well combined. Be careful not to deflate the whipped cream—aim for a light, airy texture.
3. Make the Cherry Topping:
- In a saucepan, combine the cherries and sugar. If using fresh or frozen cherries, add the cornstarch and stir to combine. If you’re using canned cherry pie filling, just add a splash of lemon juice to brighten the flavor.
- Cook over medium heat, stirring occasionally, until the mixture thickens (about 5-8 minutes). Once thickened, remove from heat and let it cool to room temperature.
- If desired, you can mash the cherries slightly for a more sauce-like topping or leave them in whole pieces for more texture.
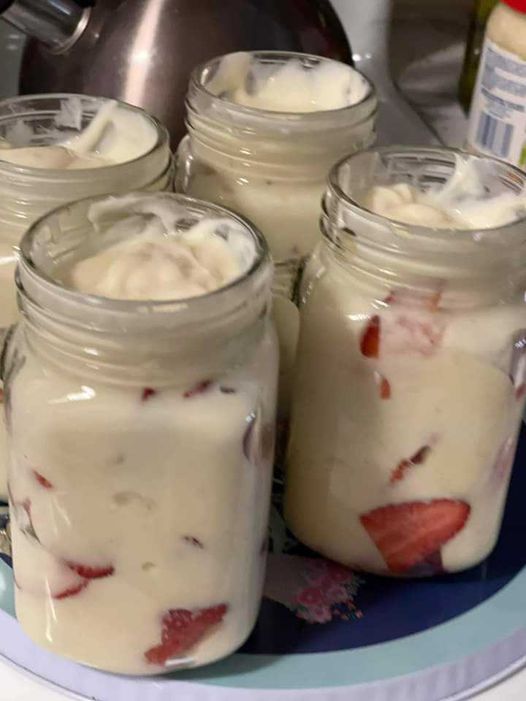
4. Assemble the Cheesecake Jars:
- Spoon the cheesecake filling into each jar, over the prepared crust. Leave some room at the top for the cherry topping.
- Once the cheesecake filling is evenly distributed, top each jar with the cooled cherry topping.
- Cover the jars with lids or plastic wrap and refrigerate for at least 4 hours or overnight for the best results.
5. Serve:
- Serve the cherry cheesecake jars chilled. For an extra touch, garnish with a few extra whole cherries, mint leaves, or a dollop of whipped cream.
Tips:
- Make-Ahead: These cheesecakes are perfect for making ahead. In fact, they taste even better after a day or two in the fridge as the flavors meld together.
- Variations: Feel free to swap out the cherry topping for other fruits like strawberries, blueberries, or raspberries. You could even try a caramel or chocolate sauce if you prefer!
- Jar Sizes: Depending on the size of the jars, you may end up with extra filling. You can adjust the proportions to fit your container sizes.
Enjoy your homemade cherry cheesecake jars – a sweet, creamy delight in every bite!
